/bin/bash -c "$(curl -fsSL https://raw.githubusercontent.com/Homebrew/install/HEAD/install.sh)"Add Homebrew To Path
After installing, add it to the path (replace ”[username]” with your actual username):
echo 'eval "$(/opt/homebrew/bin/brew shellenv)"' >> /Users/[username]/.zprofile
eval "$(/opt/homebrew/bin/brew shellenv)"
Install iTerm2
To install, run:
brew install --cask iterm2Switch to iTerm2 for the remainder of this walkthrough.
Install Git
If you don’t have it installed, install git as well:
brew install gitInstall Oh My Zsh
Run this to install Oh My Zsh:
sh -c "$(curl -fsSL https://raw.githubusercontent.com/ohmyzsh/ohmyzsh/master/tools/install.sh)"Install PowerLevel10K Theme for Oh My Zsh
Run this to install PowerLevel10K:
git clone https://github.com/romkatv/powerlevel10k.git $ZSH_CUSTOM/themes/powerlevel10kNow that it’s installed, open the ”~/.zshrc” file with your preferred editor and change the value of “ZSH_THEME” as shown below:
ZSH_THEME="powerlevel10k/powerlevel10k"To reflect this change on your terminal, restart it or run this command:
source ~/.zshrcInstall Meslo Nerd Font
Install the font by pressing “y” and then quit iTerm2.
Update VSCode Terminal Font (Optional)
Open settings.json and add this line:
"terminal.integrated.fontFamily": "MesloLGS NF"Configure PowerLevel10K
Restart iTerm2. You should now be seeing the PowerLevel10K configuration process. If you don’t, run the following:
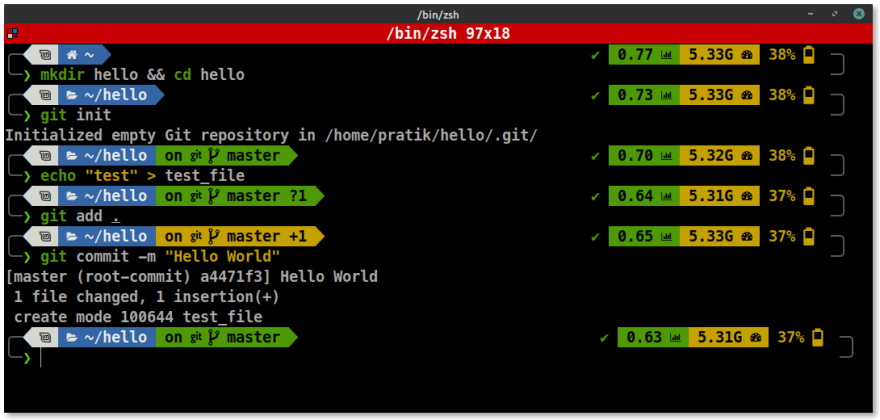
p10k configureFollow the instructions for the PowerLevel10K configuration to make your terminal look as desired.
Increase Terminal Font Size
- Open iTerm2 preferences
- Go to Profiles > Text
- I increase my font size to about 20px
Change iTerm2 Colors to My Custom Theme
- Open iTerm2
- Download my color profile by running the following command (will be added to Downloads folder):
curl https://raw.githubusercontent.com/josean-dev/dev-environment-files/main/coolnight.itermcolors --output ~/Downloads/coolnight.itermcolors- Open iTerm2 preferences
- Go to Profiles > Colors
- Import the downloaded color profile (coolnight)
- Select the color profile (coolnight)
You can find other themes here: Iterm2 Color Schemes
Install ZSH Plugins
Install zsh-autosuggestions:
git clone https://github.com/zsh-users/zsh-autosuggestions ${ZSH_CUSTOM:-~/.oh-my-zsh/custom}/plugins/zsh-autosuggestionsInstall zsh-syntax-highlighting:
git clone https://github.com/zsh-users/zsh-syntax-highlighting.git ${ZSH_CUSTOM:-~/.oh-my-zsh/custom}/plugins/zsh-syntax-highlightingOpen the ”~/.zshrc” file in your desired editor and modify the plugins line to what you see below.
plugins=(git zsh-autosuggestions zsh-syntax-highlighting web-search)Load these new plugins by running:
source ~/.zshrcYou’re Done!
With that, you’re finished and should have a much better terminal experience!


